
This project shows how to build a smart home system to control a regular AC light bulb wirelessly using Bluetooth and an ESP32 microcontroller. It lets you switch the light ON or OFF directly from your mobile phone without needing cloud services, making it a simple and cost-effective smart lighting solution.
Components Required (Affiliated Links)
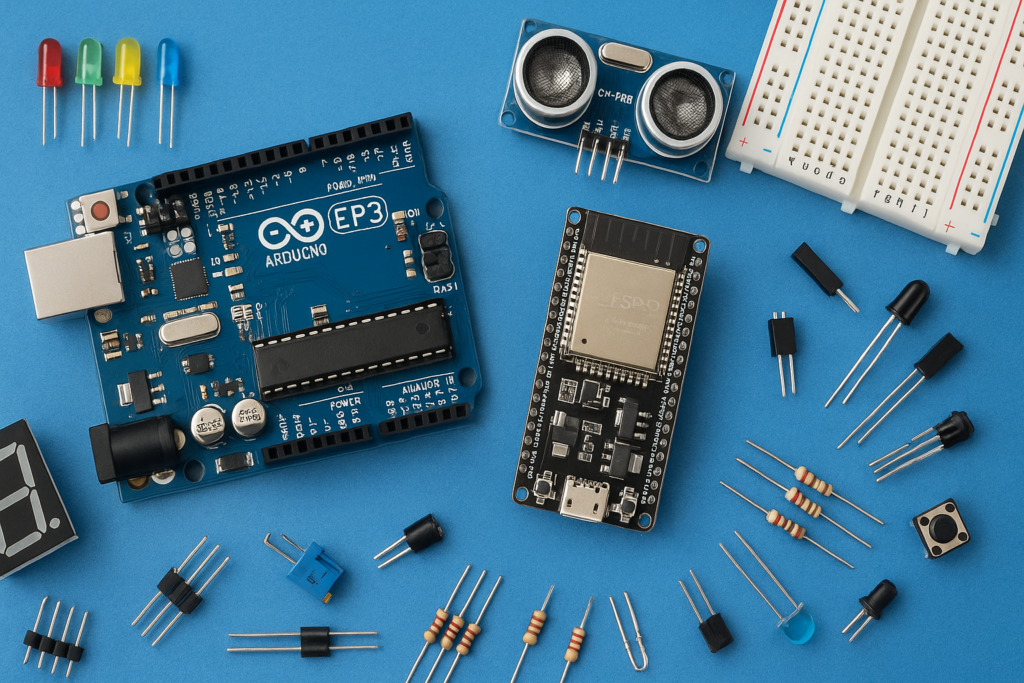
- ESP32 Dev Board https://amzn.to/4qD85v6
- PIR Motion Sensor https://amzn.to/3LB6AgK
- LED-1 ( any colour) https://amzn.to/3LfOIbg
- Female Jumper Wires https://amzn.to/47WBjN9
Code and Mobile Setup
- Code Upload: The control logic, which enables the ESP32 to receive Bluetooth commands and toggle a digital pin, is uploaded using the Arduino IDE.
- Mobile App: A compatible Bluetooth control application needs to be downloaded on your mobile phone. This app provides the interface (usually simple buttons or text inputs) to send the “ON” (e.g., character ‘1’) or “OFF” (e.g., character ‘0’) commands to the ESP32.
Wiring the AC Circuit (Relay as a Switch)
⚠️ CAUTION: This phase involves working with high-voltage AC mains power. Always unplug the AC cord from the wall before making any connections.
The relay acts as an electromagnetic switch, allowing the low-voltage ESP32 to control the high-voltage light circuit safely.
- Prepare the AC Wire: Take one of the two wires running from the AC plug to the bulb holder and cut it.
- Connect to Relay Terminals: Connect the two ends of this cut wire to the relay’s switching pins:
- One end connects to the Common (COM) terminal.
- The other end connects to the Normally Open (NO) terminal.
This setup ensures that when the ESP32 activates the relay with a signal, the internal connection switches from the normally closed position to the Normally Open (NO) position, completing the circuit and turning the bulb ON.
Connecting the ESP32 to the Relay
This is the low-voltage control circuit that powers the relay and allows the ESP32 to send the switch command.
- VCC to 3.3V Pin: Connect the relay’s VCC pin to the ESP32’s 3.3V pin to power the relay’s internal circuitry.
- GND to GND Pin: Connect the relay’s Ground pin to the ESP32’s Ground pin.
- IN to D2 Pin: Connect the relay’s IN (Input/Signal) pin to the ESP32’s Digital Pin D2. This pin receives the command from the ESP32 to switch the light.
Code
#include "BluetoothSerial.h"


BluetoothSerial SerialBT;


const int lightPin = 2; // GPIO pin to control the light (change if needed)


void setup() {

  Serial.begin(115200);

  SerialBT.begin("ESP32-LightControl"); // Bluetooth device name

  pinMode(lightPin, OUTPUT);

  digitalWrite(lightPin, HIGH); // Light off initially

  Serial.println("Bluetooth Classic SPP started, waiting for commands...");

}


void loop() {

  if (SerialBT.available()) {

    String command = SerialBT.readStringUntil('\n');

    command.trim(); // Remove whitespace and newlines


    Serial.print("Received: ");

    Serial.println(command);


    if (command.equalsIgnoreCase("1")) {

      digitalWrite(lightPin, LOW); // Switch light on


      SerialBT.println("Light ON");

      Serial.println("Light turned ON");

    }

    else if (command.equalsIgnoreCase("0")) {

      digitalWrite(lightPin, HIGH); // Switch light off

      SerialBT.println("Light OFF");

      Serial.println("Light turned OFF");

    }

    else {

      SerialBT.println("Unknown command");

      Serial.println("Received unknown command");

    }

  }

}
Testing and Operation
- Initial Check: Before applying AC power, it is advisable to connect the ESP32 to your computer and test the relay’s switching using the mobile app and, if available, a multimeter.
- Final Test: After confirming the relay is switching correctly and applying the AC supply:
- When you press the designated “ON” button (or send ‘1’) in the Bluetooth app, the ESP32 signals the relay, and the light will turn on.
- When you press the designated “OFF” button (or send ‘0’), the ESP32 deactivates the relay, and the light will turn off.
This completes your Bluetooth-controlled smart light system, giving you voice-free, wireless control over your AC appliances.
Watch the full video tutorial here: How to make an AC Light Control Using Bluetooth & ESP32 | Smart Home DIY Project