
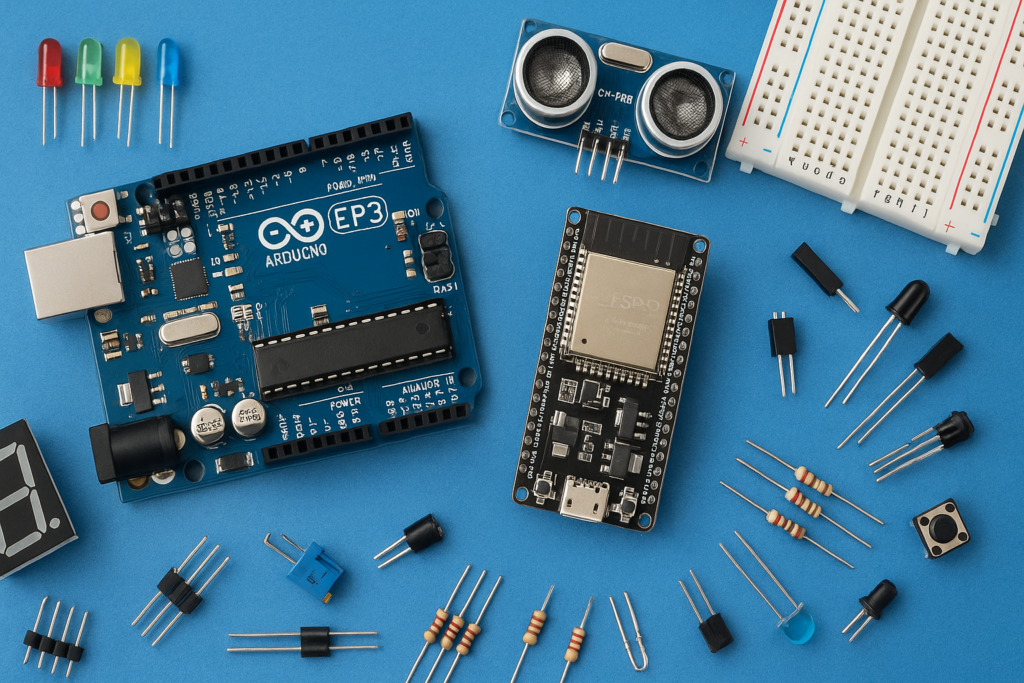
This project shows how to build a basic LED flasher circuit using two BC549 transistors and a few other common parts. This circuit makes two LEDs blink alternately, creating a simple and fun flashing light effect. It’s a perfect project for beginners to learn how transistors work as electronic switches and how capacitors and resistors control timing.
Components Required
- Transistors BC549-(2) ►https://amzn.to/2QnLZAq
- Resistors-100KΩ-(2) ►https://amzn.to/3oo5ci2
- Capacitors -47µF-(2) ►https://amzn.to/3ePvZ3I
- LEDs -(2) (two different colors) ►https://amzn.to/3wbIdt7
- Battery & Clip (9v)-(1) ►https://amzn.to/3hxvYTy
- 2 × BC549 Transistors: These act like electronic switches that turn the LEDs on and off alternately.
- 2 × 100 kΩ Resistors: These resistors control the current flowing through the circuit and help set the blinking speed.
- 2 × 47 µF Capacitors: These capacitors charge and discharge to create the timing delay that makes the LEDs flash.
- 4 × LEDs (two different colors): The lights that will flash alternately, making the circuit visually interesting.
- 1 × 9V Battery and Clip: Powers the circuit.
Circuit

How the LED Flasher Works
- The two transistors are connected in a way that they switch each other ON and OFF repeatedly.
- When one transistor is ON, it lights up its LED, while the other is OFF. Then the circuit switches, turning the first LED OFF and the second LED ON.
- The capacitors charge and discharge through the resistors, creating a delay that controls how long each LED stays ON before the switch.
- This makes the two LEDs flash alternately in a continuous loop as long as the circuit is powered.
Building and Testing
- Connect the components on a breadboard or a PCB following the circuit diagram carefully.
- Ensure the LED legs are connected correctly—longer leg (anode) towards the transistor side, with current-limiting resistors in place if needed.
- Attach the battery clip to the 9V battery and power up the circuit.
- You will see the two LEDs blink alternately, creating an engaging flashing light display.
This simple flasher circuit is a great hands-on introduction to how transistors, capacitors, and resistors work together to control electronic timing and switching.
Watch the full video tutorial here: How to make a Simple LED Flashing lights at Home | DIY LED flashing lights at home