
This project demonstrates how to build a simple electronic circuit that allows you to control a light source (like an LED or a room light) wirelessly using a standard Infrared (IR) Remote Control. This is a basic step into home automation, enabling convenient, hands-free operation of your lights.
Key Components Required (Inferred)
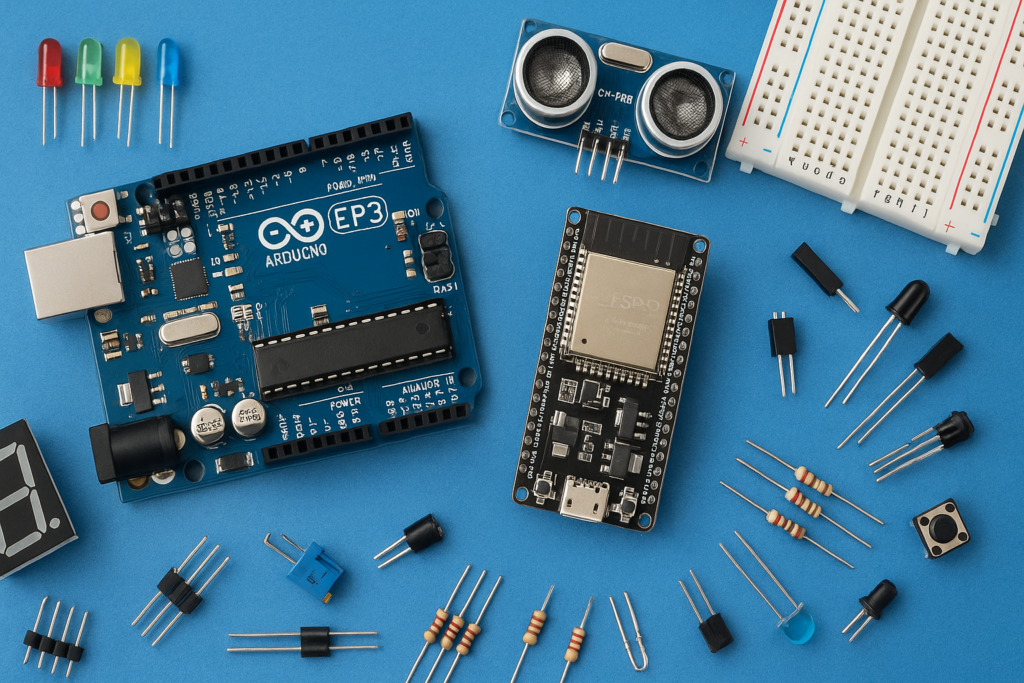
The circuit typically involves three main parts: an IR receiver, a decoding stage, and a switching stage.
- IR Transmitter (Remote Control): Any standard IR remote (e.g., from a TV or DVD player) can be used to send coded infrared light signals.
- IR Receiver Module (e.g., TSOP1738): A three-pin component that detects the infrared light pulses sent by the remote and converts them into an electrical signal.
- Decoding Element (e.g., HT12D IC or Microcontroller like Arduino): This component reads the complex pulse train from the IR receiver, identifies the unique code corresponding to a specific button press (like “Power ON”), and outputs a clean, logic signal.
- Switching Element (Transistor and 5V Relay):
- A Transistor is driven by the decoder’s output to amplify the signal.
- A Relay acts as an isolated switch, allowing the low-voltage DC circuit to safely control the high-voltage AC light bulb.
- Light Source: An LED (for demonstration) or an AC Light Bulb (for practical use).
Working Principle: Signal $\to$ Code $\to$ Action
The remote control light operates through a structured process of signal transmission and decoding:
- Signal Transmission: When a button is pressed on the remote, it sends a burst of coded Infrared light pulses. Each button has a unique code sequence.
- Signal Reception: The IR Receiver Module filters out ambient light and converts the specific IR pulse code into a corresponding electrical signal (a stream of HIGH/LOW pulses).
- Code Decoding: The Decoding IC or Microcontroller receives the pulse stream. It is programmed to:
- Read the code.
- Compare the code to a stored value (e.g., the code for the ‘Power’ button).
- Output a HIGH logic signal only when the correct button is pressed.
- Switching Action:
- The logic signal from the decoder triggers the Transistor $\text{ON}$.
- The transistor activates the Relay Coil.
- The energized relay closes the electrical contact in the $\text{AC}$ line, causing the Light Bulb to switch ON.
A subsequent press of the same button (or a different, dedicated $\text{OFF}$ button) sends a new code, which the decoder processes to open the relay circuit, switching the light OFF.
Watch the full video tutorial here: How to make a Remote Control light/LED