
Are you ready to step into the world of smart home automation without buying expensive smart bulbs? This DIY project shows you how to convert your normal, existing home lights into a smart light that you can control using just your voice and Alexa. Using a simple relay and an ESP32-based setup, you can instantly control any AC light or other AC source by simply saying, “Alexa, turn on the light!”.
Components You Will Need
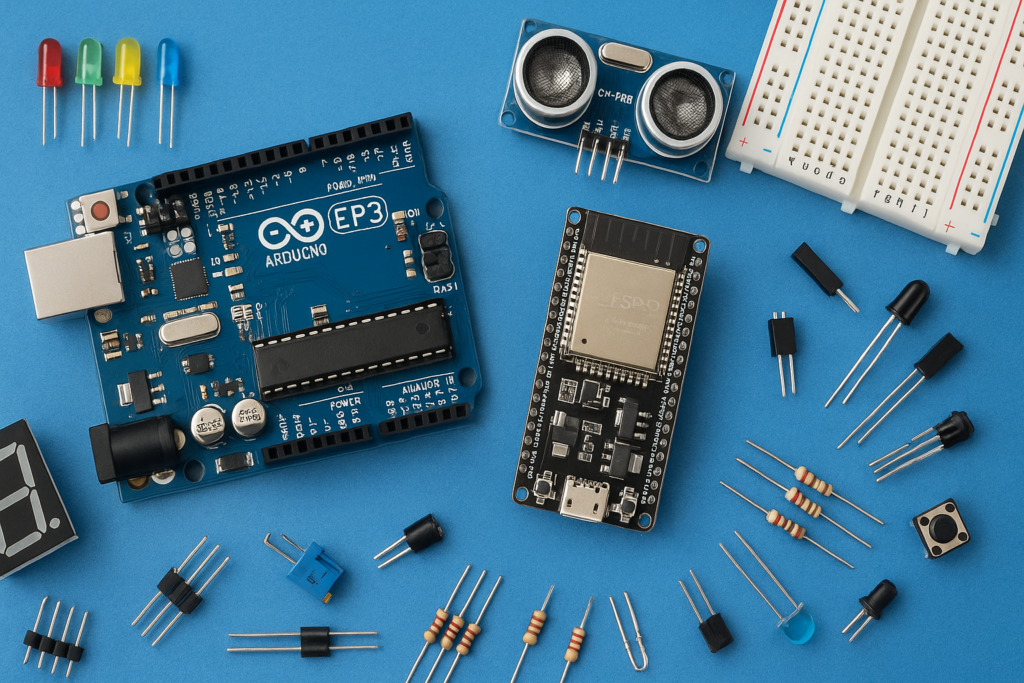
To complete this project, you will need a few inexpensive and readily available electronic components:
- ESP32 Microcontroller https://amzn.to/437V6aN
- 5V Relay Module https://amzn.to/3WxWsru
- Bulb Holder with wire and plug https://amzn.to/4ofXWmi
- Bulb https://amzn.to/4nBVu8O
- Female Jumper Wires https://amzn.to/47WBjN9
- USB Cable for ESP https://amzn.to/47VZj3U
- Alexa Device (Echo Dot or any Echo) https://amzn.to/43hMCOd
How the Magic Happens: Project Overview
The process involves three main phases: programming the controller, wiring the AC power safely, and integrating with Alexa.
1. Setup and Programming
The project uses the ESP32 as the core controller, as it has built-in Wi-Fi capability. You upload the code to the ESP32 using the Arduino IDE that allows the board to connect to your local network and emulate a smart device that Alexa can recognize.
2. Wiring the AC Circuit
The 5V Relay Module is the critical safety component that handles the high-voltage AC current required to power the light. The relay acts as a remote-controlled switch:
Connecting the Relay to ESP32:
- Connect the Relay’s Positive pin to the 3.3V pin of the ESP32.
- Connect the Relay’s Ground pin to the Ground pin of the ESP32.
- Connect the Relay’s Signal pin to the D2 pin of the ESP32.
3. Alexa Integration and Voice Control
Once the ESP32 is powered and successfully connected to your network, you can proceed with the final step:
- You use the Alexa app to initiate a “discover new devices” command.
- Alexa recognizes the ESP32 setup as a controllable switch.
- After the device is discovered and named, you gain full voice control. You can use simple commands like “Alexa, turn on the light” to instantly trigger the ESP32, which then signals the relay to switch the light on.
Code
/*

 * ESP32 Alexa LED Control

 * Author: bluedotelectronics

 *

 * Controls an LED on pin D2 using Alexa voice commands

 */


#include <WiFi.h>

#include <Espalexa.h>


// WiFi Credentials

const char* ssid = "YOUR_WIFI_SSID";

const char* password = "YOUR_WIFI_PASSWORD";


// LED Pin

#define LED_PIN 2  // D2 on ESP32


// Espalexa object

Espalexa espalexa;


// LED control function

void ledControl(uint8_t brightness) {

  if (brightness == 255) {

    digitalWrite(LED_PIN, HIGH);

    Serial.println("AC light turned ON");

  }

  else if (brightness == 0) {

    digitalWrite(LED_PIN, LOW);

    Serial.println("AC light turned OFF");

  }

}


void setup() {

  Serial.begin(115200);


  // Setup LED pin

  pinMode(LED_PIN, OUTPUT);

  digitalWrite(LED_PIN, LOW);


  // Connect to WiFi

  WiFi.begin(ssid, password);

  Serial.print("Connecting to WiFi");

  while (WiFi.status() != WL_CONNECTED) {

    delay(500);

    Serial.print(".");

  }

  Serial.println("\nWiFi Connected!");

  Serial.print("IP Address: ");

  Serial.println(WiFi.localIP());


  // Add device to Alexa

  espalexa.addDevice("AC light", ledControl);


  espalexa.begin();


  Serial.println("Device ready! Say 'Alexa, turn on AC light'");

}


void loop() {

  espalexa.loop();

  delay(1);

}
This is a powerful, educational, and fun way to build a smarter home on a budget.
You can watch the full process of setting up this project by visiting this video: How to make Your Home Lights Smart with Alexa (DIY Project!). This video demonstrates the full assembly and code upload process for converting your light into a smart light.