
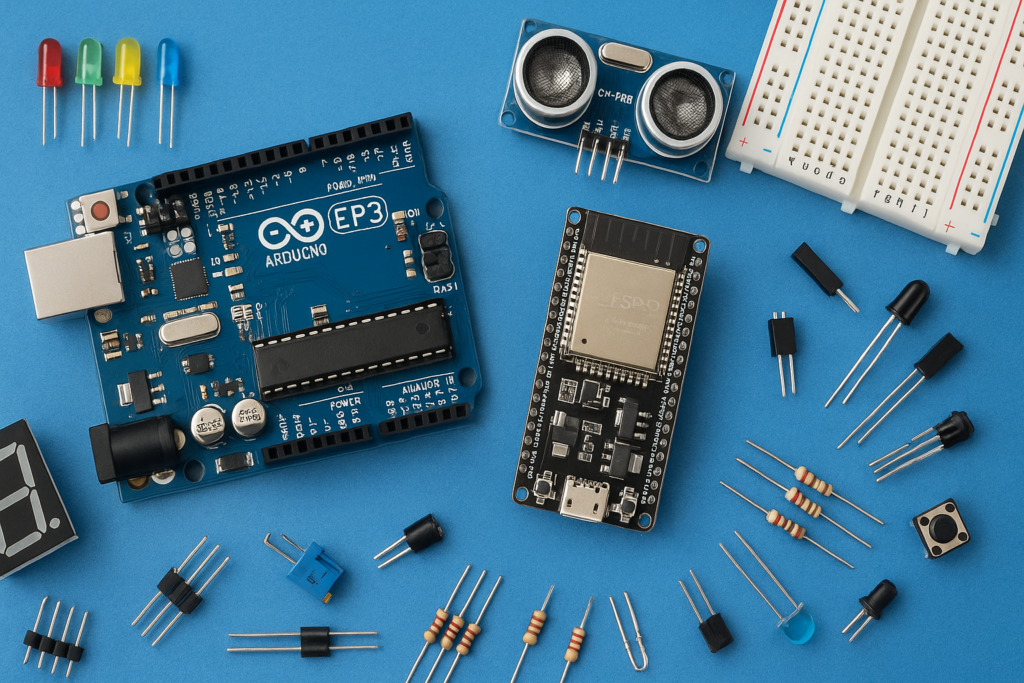
In this beginner-friendly Arduino project, we will build a simple touch sensor circuit that turns an LED ON when the sensor is touched.
This project is perfect for students, hobbyists, and anyone starting their journey with Arduino and electronics. By the end of this tutorial, you will understand how capacitive touch sensing works and how it can be used to create interactive electronic devices.
Project Overview
In this project, the Arduino continuously monitors the touch sensor module. When a finger touches the sensor pad, the sensor sends a signal to the Arduino. The Arduino then turns the LED ON. Once the finger is removed, the LED turns OFF.
This simple project demonstrates the fundamentals of sensor interfacing and digital input processing.
Components Required
| Sr. No. | Component | Quantity |
|---|---|---|
| 1 | Arduino Uno ➤ https://amzn.to/4dBgpHp | 1 |
| 2 | Touch Sensor Module (KY-031) ➤ https://amzn.to/4enmfw8 | 1 |
| 3 | Any LED ➤ https://amzn.to/4tYOLc4 | 1 |
| 4 | 220Ω Resistor ➤ https://amzn.to/4u3aCiH | 1 |
| 6 | Jumper Wires (M-F) ➤ https://amzn.to/430CfOo | 3 |
| 7 | USB Cable for Arduino | 1 |
Circuit Connections
Touch Sensor Connections
- VCC → Arduino 5V
- GND → Arduino GND
- S → Arduino Digital Pin 2
LED Connections
- LED Long leg (Anode) → Arduino Digital Pin 8 via 220Ω Resistor
- LED Short leg (Cathode) → GND
Arduino Code
const int sensorPin = 2;   // S pin connected to D2
const int ledPin = 8;

void setup() {
  pinMode(sensorPin, INPUT);
  pinMode(ledPin, OUTPUT);

  Serial.begin(9600);
}

void loop() {

  int sensorState = digitalRead(sensorPin);

  // Detect vibration / touch
  if (sensorState == HIGH) {

    Serial.println("Touch / Knock Detected!");

    digitalWrite(ledPin, HIGH);
    delay(200);

    digitalWrite(ledPin, LOW);
  }
}