
Have you ever imagined controlling an LED with just a clap? In this simple Arduino project, we will build a Clap Switch using an Arduino Uno, a sound sensor module, and LEDs.
When the sound sensor detects a clap, the Arduino processes the signal and turns the LED ON. This project is perfect for beginners who want to learn how sensors interact with Arduino.
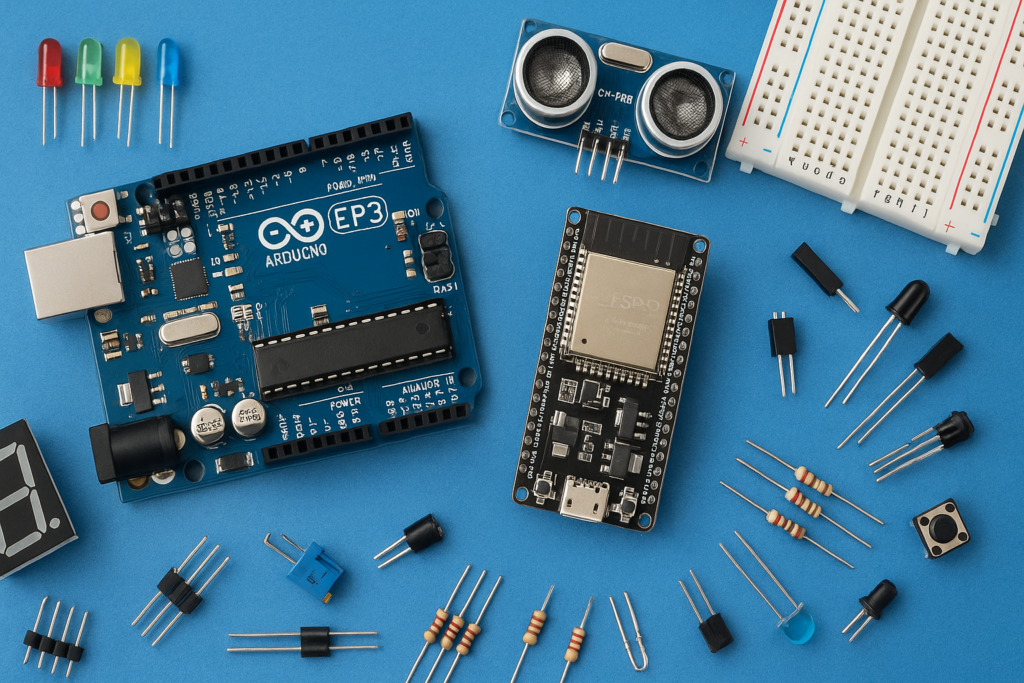
Components Required
| Sr. No. | Component | Quantity |
|---|---|---|
| 1 | Arduino Uno / Nano ➤ https://amzn.to/4dBgpHp | 1 |
| 2 | Sound Sensor Module ➤ https://amzn.to/3QBjvlI | 1 |
| 3 | LED ➤ https://amzn.to/4tYOLc4 | 2 |
| 4 | 220Ω Resistor ➤ https://amzn.to/4u3aCiH | 2 |
| 6 | Jumper Wires➤ https://amzn.to/430CfOo | 3 (M-F) |
| 7 | USB Cable | 1 |
Circuit Connections
LED Connections
LED 1
- Arduino Pin 8 → 220Ω Resistor → LED Positive Leg
- LED Negative Leg → GND
LED 2
- Arduino Pin 9 → 220Ω Resistor → LED Positive Leg
- LED Negative Leg → GND
Sound Sensor Connections
- VCC → 5V
- GND → GND
- DO → Arduino Pin 2
Double-check all connections before powering the circuit.
Arduino Code
Upload the following code to your Arduino board:
const int sensorPin = 2;
const int ledPin1 = 8;
const int ledPin2 = 9;

bool ledState = false;

void setup() {
  pinMode(sensorPin, INPUT);
  pinMode(ledPin1, OUTPUT);
  pinMode(ledPin2, OUTPUT);
}

void loop() {

  if (digitalRead(sensorPin) == LOW) {

    ledState = !ledState;

    digitalWrite(ledPin1, ledState);
    digitalWrite(ledPin2, ledState);

    delay(300);
  }
}
Applications of Clap Switch
- Smart home projects
- Sound-controlled lights
- Arduino learning projects
- DIY automation experiments
- Beginner electronics practice
Leave a Reply