
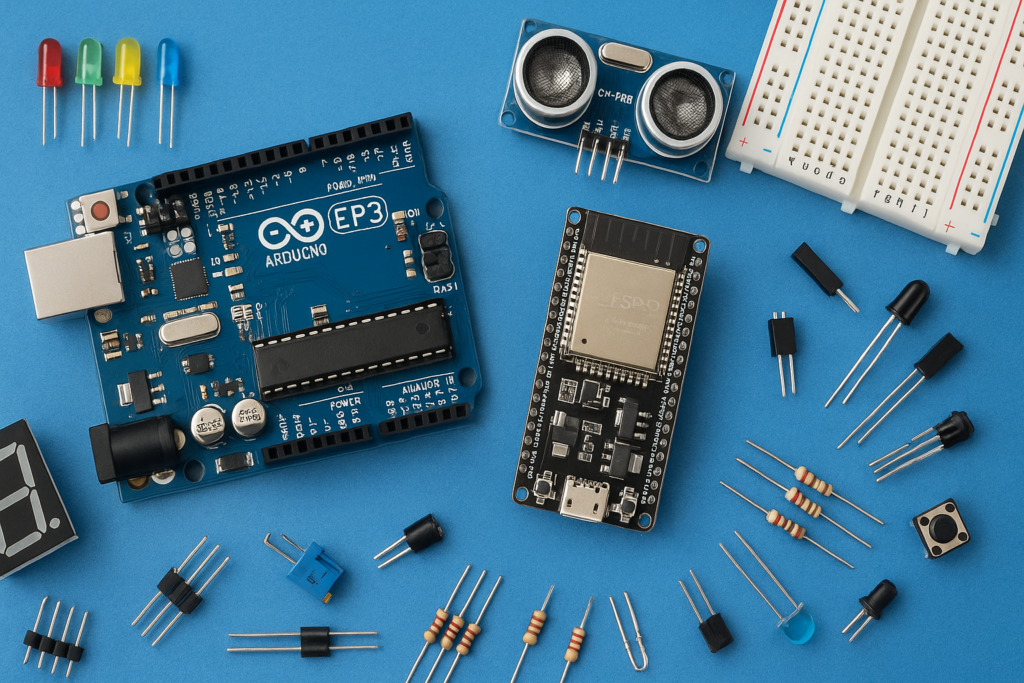

Have you ever walked into a dark room and wished the light would turn ON automatically?
In this project, we are going to build a Smart Motion Detect Light using Arduino, PIR sensor, LDR, and a relay module.
The idea is very simple:
The light should turn ON only when it is dark AND motion is detected.
If the room is already bright, the light remains OFF even when somebody walks in front of the PIR sensor.
Once the light turns ON, it stays ON for 10 minutes. During this time, the Arduino temporarily ignores the LDR so that the AC bulb’s own light does not confuse the system.
This is a simple but very practical Arduino project for rooms, corridors, staircases, entrances, garages, and outdoor lighting.
How Does This Smart Light Work?
We use two sensors in this project.
The LDR checks whether the surrounding area is bright or dark.
The PIR sensor checks for movement from a person.
Arduino continuously reads both sensors.
The basic logic is:
Dark + Motion Detected
        ↓
     Light ON
        ↓
  10-Minute Timer
        ↓
     Light OFF
        ↓
 LDR Active Again
If it is bright:
Bright + Motion
        ↓
     Light OFF
So the light does not unnecessarily switch ON during daytime.
Components Required
| Component | Quantity | Purpose |
|---|---|---|
| Arduino UNO | 1 | Main controller |
| HC-SR501 PIR Sensor | 1 | Detects human movement |
| LDR | 1 | Detects light/dark condition |
| 10kΩ Resistor | 1 | Creates LDR voltage divider |
| 5V Relay Module | 1 | Controls the AC bulb |
| AC Bulb + Holder | 1 | Output light |
| Jumper Wires | As required | Connections |
| Regulated 5V Supply | 1 | Standalone power |
Buying Links
Arduino UNO ➤ https://amzn.to/4dBgpHp
LDR Sensor ➤ https://amzn.to/431y6cT
Resistor Values ➤ https://amzn.to/4u3aCiH
Jumper Wires ➤ https://amzn.to/430CfOo
Affiliate note: Links provided above are Amazon affiliate links — if you buy through them, I may earn a small commission at no extra cost to you, which helps support this site.
Circuit Connections
LDR Connection
For this project, we powered the LDR voltage divider from the Arduino’s 3.3V pin.
Arduino 3.3V
     │
    LDR
     │
     ├──────── A0
     │
   10kΩ
     │
Arduino GND| LDR Circuit | Arduino |
|---|---|
| LDR first leg | 3.3V |
| LDR second leg | A0 |
| 10kΩ resistor first side | A0 |
| 10kΩ resistor second side | GND |
The LDR does not have polarity, so either leg can be connected to 3.3V.
PIR Sensor Connection
| HC-SR501 PIR | Arduino UNO |
|---|---|
| VCC | 5V |
| OUT | D2 |
| GND | GND |
The PIR sensor output becomes HIGH when motion is detected.
Relay Module Connection
| Relay Module | Arduino UNO |
|---|---|
| VCC | 5V |
| GND | GND |
| IN | D8 |
LDR Calibration
Before writing the final program, we tested the LDR readings in different lighting conditions.
With the LDR powered from 3.3V, our readings were approximately:
| Condition | LDR Reading |
|---|---|
| Room light ON | 350–399 |
| LDR covered by hand | 39–50 |
| Dark room | 21–28 |
Because of these readings, we selected:
const int DARK_THRESHOLD = 60;Therefore:
LDR value BELOW 60
       ↓
      DARK
and:
LDR value ABOVE 60
       ↓
     BRIGHT
Your LDR readings may be slightly different depending on the LDR, resistor value, room lighting, and sensor position.
You can simply change the value 60 in the program if required.
Why Do We Ignore the LDR After the Light Turns ON?
This was an interesting problem we found while testing the project.
Imagine the room is dark.
The Arduino detects:
Dark + Motionand turns the AC bulb ON.
But now the AC bulb itself shines on the LDR.
The LDR suddenly thinks:
"It's bright!"If Arduino immediately acted on this reading, we could get:
Dark
 ↓
Bulb ON
 ↓
LDR sees bulb light
 ↓
Bright
 ↓
Bulb OFF
 ↓
Dark
 ↓
Bulb ON
 ↓
...
The relay could continuously switch ON and OFF.
To prevent this, our program uses the LDR only while the light is OFF.
Once the light has been activated, the LDR is temporarily ignored for 10 minutes.
After 10 minutes, the light turns OFF and Arduino starts checking the LDR again.
Complete Arduino Code
// BlueDot Electronics
// Smart Motion Detect Light
// LDR + PIR + Relay + 10 Minute Timer

const int LDR_PIN   = A0;
const int PIR_PIN   = 2;
const int RELAY_PIN = 8;

// Our tested darkness threshold
const int DARK_THRESHOLD = 60;

// 10 minutes
const unsigned long ON_TIME =
  10UL * 60UL * 1000UL;

bool lightOn = false;

unsigned long lightOnStartTime = 0;


void setup() {

  Serial.begin(9600);

  pinMode(PIR_PIN, INPUT);
  pinMode(RELAY_PIN, OUTPUT);

  // Relay OFF initially
  digitalWrite(RELAY_PIN, LOW);
  Serial.println("    SMART MOTION DETECT LIGHT");
  Serial.println("DARK + MOTION = LIGHT ON");
  Serial.println("LIGHT ON TIME = 10 MINUTES");
  Serial.println();
}


void loop() {

  int ldrValue = analogRead(LDR_PIN);
  int pirState = digitalRead(PIR_PIN);
  // LIGHT IS CURRENTLY OFF

  if (lightOn == false) {

    // Turn light ON only when
    // it is DARK and MOTION is detected

    if (ldrValue < DARK_THRESHOLD &&
        pirState == HIGH) {

      digitalWrite(RELAY_PIN, HIGH);

      lightOn = true;

      // Start 10-minute timer
      lightOnStartTime = millis();

      Serial.println();
      Serial.println(
        ">>> DARK + MOTION -> LIGHT ON"
      );

      Serial.println(
        ">>> 10 MINUTE TIMER STARTED"
      );

      Serial.println(
        ">>> LDR TEMPORARILY IGNORED"
      );
    }

    else {

      digitalWrite(RELAY_PIN, LOW);

      Serial.print("LDR: ");
      Serial.print(ldrValue);

      Serial.print(" | PIR: ");
      Serial.print(pirState);

      if (ldrValue >= DARK_THRESHOLD) {

        Serial.println(
          " | BRIGHT -> LIGHT OFF"
        );

      }

      else {

        Serial.println(
          " | DARK + NO MOTION -> LIGHT OFF"
        );
      }
    }
  }

  // LIGHT IS CURRENTLY ON

  else {

    // LDR is intentionally ignored
    // while the light is ON.

    unsigned long elapsedTime =
      millis() - lightOnStartTime;


    // Check whether 10 minutes completed
    if (elapsedTime >= ON_TIME) {

      digitalWrite(RELAY_PIN, LOW);

      lightOn = false;

      Serial.println();
      Serial.println(
        ">>> 10 MINUTES COMPLETED"
      );

      Serial.println(
        ">>> LIGHT OFF"
      );

      Serial.println(
        ">>> LDR ACTIVE AGAIN"
      );

      Serial.println();
    }

    else {

      unsigned long remainingSeconds =
        (ON_TIME - elapsedTime) / 1000;

      Serial.print("LIGHT ON");

      Serial.print(" | PIR: ");
      Serial.print(pirState);

      Serial.print(" | LDR IGNORED");

      Serial.print(" | TIME LEFT: ");
      Serial.print(remainingSeconds);

      Serial.println(" sec");
    }
  }


  delay(300);
}
Testing the Project
Before connecting the AC bulb, it is better to test the project using the relay module’s indicator LED or the Arduino’s built-in LED.
For faster testing, you also don’t need to wait 10 minutes every time.
Temporarily replace:
const unsigned long ON_TIME =
  10UL * 60UL * 1000UL;
with:
const unsigned long ON_TIME =
  10UL * 1000UL;
Now the timer becomes just 10 seconds.
Once everything is working correctly, change it back to the 10-minute value.
Expected Working
Suppose the room is bright and your LDR reading is:
LDR = 370
PIR = 1
The light remains:
OFFNow turn off the room light.
The LDR might read:
LDR = 25If nobody is moving:
PIR = 0
LIGHT = OFF
When a person enters:
LDR = 25
PIR = 1
Arduino detects:
DARK + MOTIONand switches the relay ON.
The AC bulb turns ON and the 10-minute timer starts.
Even if the bulb’s own light changes the LDR reading, Arduino ignores the LDR during this period.
After 10 minutes:
LIGHT OFF
LDR ACTIVE AGAIN
The system then waits for the next Dark + Motion condition.
What If the Relay Works in Reverse?
Some relay modules are Active LOW.
If your relay turns ON when the code says OFF, you may need to reverse the relay commands.
Instead of:
digitalWrite(RELAY_PIN, HIGH); // ON
digitalWrite(RELAY_PIN, LOW);  // OFF
use:
digitalWrite(RELAY_PIN, LOW);  // ON
digitalWrite(RELAY_PIN, HIGH); // OFF
Only make this change if your particular relay module behaves in reverse.
Can It Work Without a Computer?
Yes.
The computer is required only for uploading the Arduino program and viewing the Serial Monitor.
Once the program has been uploaded, the Arduino can run the complete system independently using a suitable regulated power supply.
The timer also works without the computer because millis() is generated by the Arduino itself.
Important Note About the PIR Sensor
The HC-SR501 is a motion sensor, not a true human-presence sensor.
It detects changes in infrared radiation caused mainly by movement.
That means somebody walking, moving their hands, or changing position can easily trigger it. But if someone remains completely still for a long period, a PIR sensor may eventually stop detecting them.
For normal automatic lighting applications this is generally acceptable.
For a more advanced version, a future project could use an mmWave presence sensor, which can detect much smaller human movements.
Applications
This project can be useful for automatic staircase lighting, corridors, entrances, balconies, garages, store rooms, parking areas, outdoor lights, washrooms and other places where we want lights to operate automatically only when required.
Final Thoughts
This project combines two simple sensors to create a much smarter lighting system.
An ordinary PIR light can switch ON even during daytime. By adding an LDR, our Arduino first checks whether the light is actually required.
So the key idea is very simple:
Dark + Motion = Light ON 💡
The added 10-minute timer also prevents unnecessary relay switching and avoids problems caused by the bulb illuminating the LDR itself.
This is a nice beginner-friendly project to understand LDR sensors, PIR motion detection, relay control, analog readings, timers using millis(), and simple automation logic.
⚠️ AC Safety
The Arduino side operates at low voltage, but the relay contacts may switch dangerous mains voltage. Never touch or modify the AC side while powered. Keep all mains terminals insulated and enclosed, maintain proper separation from the low-voltage Arduino circuit, and use appropriately rated components. For permanent installations, have the mains wiring handled or checked by a qualified electrician.
Leave a Reply