
This project provides a detailed guide on how to construct an Obstacle Avoiding Robot at home, utilizing an Arduino Nano as the brain and an HC-SR04 Ultrasonic Sensor for navigation. This robot is programmed to move forward until it detects an obstacle, at which point it stops, looks around, and changes direction to avoid collision.
Components Required
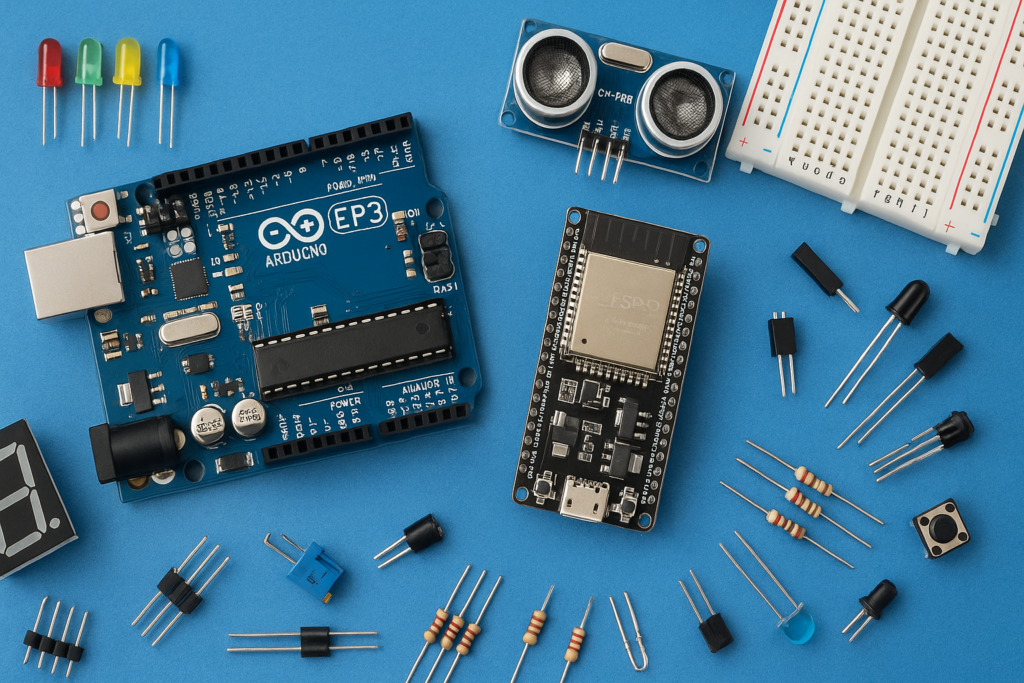
- Arduino Nano/ Arduino Uno ►https://amzn.to/3yg3nYY ►https://amzn.to/3opv2lP
- L298N Driver Module ►https://amzn.to/3btRKDR
- HC-SR04 Ultrasonic Sensor ►https://amzn.to/3u02BMA
- 5V Servo Motors & Wheels ►https://amzn.to/3hwfVW9
- Chassis ►https://amzn.to/3bxHE54
- Front Wheel ►https://amzn.to/3uYvNF0
- Two 3.7 v battery with 3000 mAh ►https://amzn.to/3eQjIMe
- Battery holder ►https://amzn.to/3waYCOz
- Jumper Wires ►https://amzn.to/2S4KCr2
Phase 1: Wiring the Movement System
The L298N Motor Driver acts as the interface between the low-power Arduino and the high-power motors.
- Motor Connection: Connect the wires from the two DC motors to the Output Pins on the motor driver module. Note that the polarity of these wires determines the motor’s default direction (clockwise or counter-clockwise). If the robot moves backward instead of forward, simply swap the motor wires.
- Control Pins (Arduino to Driver): Connect the motor driver’s Input pins to the Arduino’s digital pins to send movement commands:
- Driver IN4 to Arduino Digital Pin D5
- Driver IN3 to Arduino Digital Pin D6
- Driver IN2 to Arduino Digital Pin D7
- Driver IN1 to Arduino Digital Pin D8
- Power Connection (Driver to Arduino/Battery):
- Connect the Motor Driver’s 5V Output Pin to the Arduino’s 5V Input Pin.
- Connect the Motor Driver’s GND Pin to the Arduino’s GND Pin.
- Connect the Battery’s Positive Terminal to the Motor Driver’s 12V Input Pin.
- Connect the Battery’s Negative Terminal to the Motor Driver’s GND Pin.
Phase 2: Wiring the Sensing System (HC-SR04 Ultrasonic Sensor)
The ultrasonic sensor is the robot’s “eyes,” measuring distance by emitting and receiving sound waves.
- VCC (Power) to Arduino 5V Pin
- GND (Ground) to Arduino GND Pin
- Trig Pin (Input) to Arduino Digital Pin D10 (This pin initiates the sound pulse).
- Echo Pin (Output) to Arduino Digital Pin D11 (This pin measures the duration of the reflected sound wave to calculate distance).
The result is a fully functional, autonomous robot capable of navigating its environment without bumping into walls or objects.
Watch the full video tutorial here: How to make an Easy Obstacle Avoiding Robot at Home | Arduino Nano | DIY Obstacle Avoid Robot 2021