
In this project, we will build a motion-controlled LED system using an Arduino and the MPU6050 sensor. The LEDs will turn ON in a flowing pattern based on the tilt and movement of the sensor
Components Used:
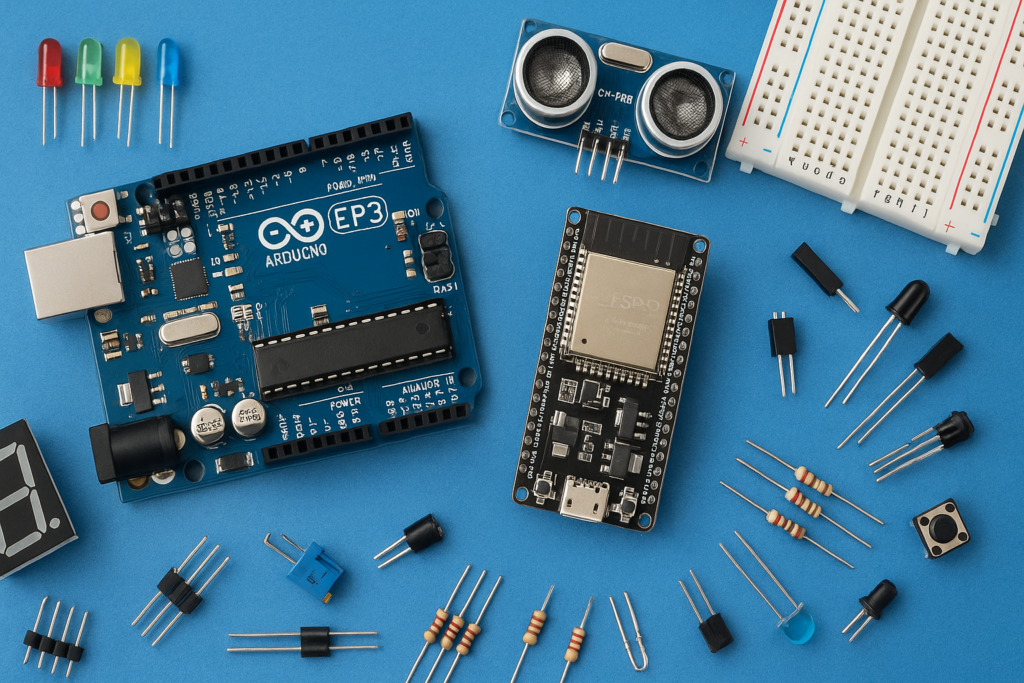
- Arduino UNO ➤ https://amzn.to/4t4KEvx
- MPU6050 Sensor ➤ https://amzn.to/3QkI5qx
- 5 LEDs ➤ https://amzn.to/4vtnwIw
- 220 Ohm Resistors ➤ https://amzn.to/4vtnwIw
- Breadboard ➤ https://amzn.to/48MCtvB
- Jumper Wires (Male-to-Male & Male-to-Female) ➤ https://amzn.to/4tGkNde
Circuit Connections
MPU6050 to Arduino
| MPU6050 Pin | Arduino Pin |
|---|---|
| VCC | 3.3V |
| GND | GND |
| SDA | A4 |
| SCL | A5 |
LEDs to Arduino
| LED Number | Arduino Pin | Resistor |
|---|---|---|
| LED 1 | D3 | 220Ω |
| LED 2 | D5 | 220Ω |
| LED 3 | D6 | 220Ω |
| LED 4 | D9 | 220Ω |
| LED 5 | D10 | 220Ω |
Code:
Install MPU6050 Library by Electronic Cats, before uploading the code.
#include <Wire.h>

const int MPU_ADDR = 0x68;
const int ledPins[] = {3, 5, 6, 9, 10};
const int NUM_LEDS = 5;

void setup() {
  Serial.begin(9600);
  Wire.begin();

  // Wake up MPU6050
  Wire.beginTransmission(MPU_ADDR);
  Wire.write(0x6B);
  Wire.write(0);
  Wire.endTransmission(true);

  for (int i = 0; i < NUM_LEDS; i++) {
    pinMode(ledPins[i], OUTPUT);
  }

  Serial.println("MPU6050 Ready!");
}

void loop() {
  Wire.beginTransmission(MPU_ADDR);
  Wire.write(0x3B);
  Wire.endTransmission(false);
  Wire.requestFrom(MPU_ADDR, 6, true);

  int16_t rawX = Wire.read() << 8 | Wire.read();
  int16_t rawY = Wire.read() << 8 | Wire.read();
  int16_t rawZ = Wire.read() << 8 | Wire.read();

  float accelX = rawX / 16384.0;
  accelX = constrain(accelX, -1.0, 1.0);

  float ledPos = (accelX + 1.0) / 2.0 * (NUM_LEDS - 1);

  Serial.print("AccelX: "); Serial.print(accelX, 2);
  Serial.print(" | LED Pos: "); Serial.println(ledPos, 2);

  for (int i = 0; i < NUM_LEDS; i++) {
    float distance = abs(ledPos - i);
    int brightness = 0;
    if (distance < 1.0) {
      brightness = (int)((1.0 - distance) * 255);
    }
    analogWrite(ledPins[i], brightness);
  }

  delay(20);
}